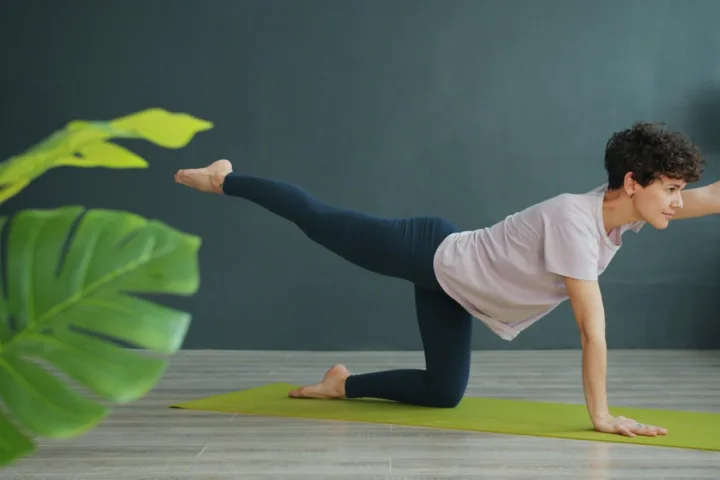

A back workout for women at home can build a strong back without weights, using your bodyweight and common household items. A solid back routine improves posture, prevents shoulder pain, and balances out chest and arm work—but most home programs skip it because pulling movements are harder to replicate than pushes.
This guide walks you through why back training matters for women training at home, which movements work without a pull-up bar, how to progress them, and how to build a simple weekly plan you can start today.
Why Your Back Needs Its Own Attention
Your back muscles—the lats, rhomboids, traps, and erector spinae—make up nearly half your upper body mass. When you train chest, shoulders, and arms but skip back work, you create a strength imbalance that pulls your shoulders forward and strains your neck.
Sitting most of the day or looking down at screens can contribute to rounded shoulders and a forward head position. Back exercises pull your shoulders back into alignment, which relieves neck tension and makes you look taller. Strengthening the muscles between your shoulder blades is a common, practical way to work on desk posture.
Back training also supports every overhead movement and makes daily tasks like lifting grocery bags or picking up children safer and easier.
The Challenge of Training Back at Home
Most back exercises involve pulling: pull-ups, rows, lat pulldowns. At a gym, you pull against cables, barbells, or machines. At home, you need to create resistance without equipment.
The good news: bodyweight rows using a sturdy table, resistance band rows, and isometric holds all work the same muscles. The movements look different, but the muscle action—pulling your shoulder blades together and drawing your elbows back—is identical.
You will progress slower than you would with a barbell, but you will still build strength and muscle if you make each set challenging and add difficulty over time.
Five Core Back Movements You Can Do at Home
These five exercises cover the full back. Do them in the order listed, which moves from compound movements to isolation and prevents fatigue from limiting the bigger lifts.
Inverted Row Under a Table
Lie under a sturdy dining table or desk, grab the edge with both hands shoulder-width apart, and pull your chest to the underside of the table. Keep your body straight from heels to head.
This is the closest substitute for a barbell row. It trains your lats, rhomboids, and rear delts, and it scales easily: the more horizontal your body, the harder it gets.
Progression: Start with knees bent and feet flat on the floor. Once you can do 12 clean reps, straighten your legs. After that, elevate your feet on a chair.
Safety check: Test the table first. It must support your full weight without wobbling. Avoid glass tables.
Resistance Band Row
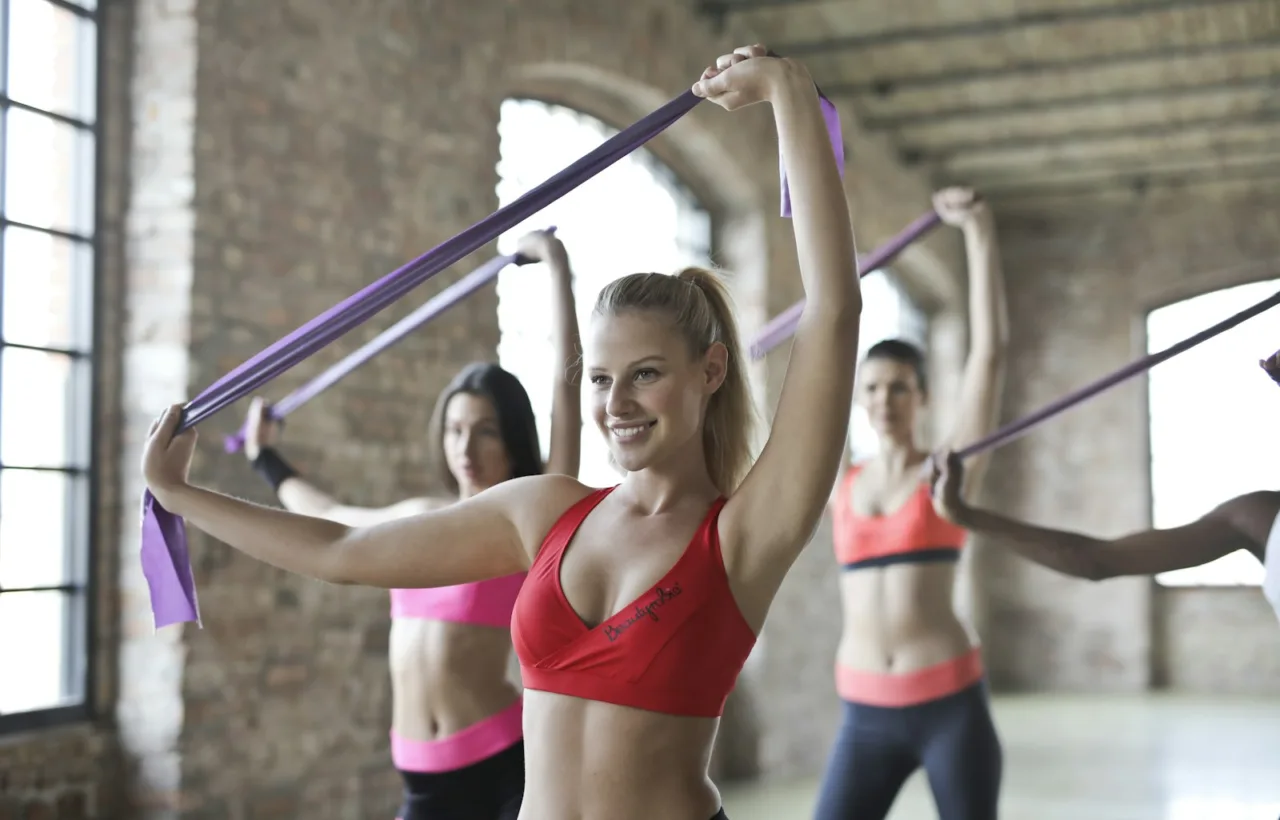
Loop a resistance band around a sturdy post, doorknob, or table leg at chest height. Hold both ends, step back until the band is taut, and pull your elbows straight back, squeezing your shoulder blades together.
This mimics a cable row. It allows you to adjust resistance by stepping farther back or using a thicker band.
Form cue: Keep your elbows close to your ribs. If they flare out to the sides, you are using your rear delts more than your lats.
Superman Hold
Lie face down on the floor, arms extended in front of you. Lift your chest, arms, and legs off the ground simultaneously and hold for 20–30 seconds.
This targets your erector spinae—the muscles running along your spine—which stabilize your torso during every other exercise. Weak erectors lead to lower back pain during deadlifts and squats.
Progression: Once you can hold for 45 seconds, add small pulses: lift your arms and chest an extra inch, then lower back to the hold position. Repeat for 10 pulses.
Reverse Snow Angel
Lie face down, arms at your sides with palms facing down. Lift your chest slightly off the ground, then sweep your arms out to the sides and overhead in a wide arc, as if making a snow angel in reverse. Return your arms to your sides. That is one rep.
This isolates your rhomboids and mid-traps, the muscles that retract your shoulder blades. Most people are weak here, which contributes to rounded shoulders.
Do 12–15 slow, controlled reps. If your chest drops during the movement, reset between reps rather than rushing.
Doorway Isometric Pull
Stand in a doorway, place your palms flat against the door frame at shoulder height, and push forward as if trying to push the wall away. At the same time, pull your shoulder blades together.
Hold for 20 seconds, rest, and repeat for 3 sets.
This is an isometric exercise—your muscles contract without moving a joint. It activates the muscles between your shoulder blades and is useful when you are too fatigued for full-range movement or traveling without equipment.
How to Structure a Weekly Back Routine at Home
You need to train your back 2–3 times per week, with at least one full day of rest between sessions. This allows muscle recovery and prevents overuse injuries.
Option 1: Back-Focused Day (for upper/lower splits)
Perform all five exercises in order, resting 60–90 seconds between sets:
- Inverted row: 3 sets of 8–12 reps
- Resistance band row: 3 sets of 12–15 reps
- Superman hold: 3 sets of 30 seconds
- Reverse snow angel: 2 sets of 12 reps
- Doorway isometric pull: 2 sets of 20 seconds
Total time: 20–25 minutes.
Option 2: Full-Body Days (3x per week)
Add one compound back movement to each session:
- Day 1: Inverted row, 3 sets
- Day 2: Resistance band row, 3 sets
- Day 3: Superman hold, 3 sets
Pair each with your chest, leg, and core work.
Option 3: Push/Pull Split
Train back on pull days alongside biceps. Do 2–3 back exercises per session, rotating them weekly to avoid adaptation.
| Exercise | Sets × reps | Main muscles |
|---|---|---|
| Inverted row | 3 × 8–12 | Lats, rhomboids, rear shoulders |
| Resistance band row | 3 × 12–15 | Lats and mid-back |
| Superman hold | 3 × 30 s | Muscles along the spine |
| Reverse snow angel | 2 × 12 | Rhomboids and mid-traps |
| Doorway isometric pull | 2 × 20 s | Upper back (static hold) |
Rest 60–90 seconds between sets: about 20–25 minutes in total.
Making Bodyweight Rows Harder Without Equipment
The inverted row is your main back-builder at home, but once you can do 15 reps with straight legs, you need to add difficulty or your progress stalls.
Four ways to progress:
- Elevate your feet. Place them on a chair or couch. This increases the percentage of your bodyweight you are lifting.
- Slow the tempo. Take 3 seconds to lower yourself, pause for 1 second at the bottom, then pull back up. This increases time under tension, which drives muscle growth even without added weight.
- Single-arm rows. Perform the row with one hand while the other hand supports you lightly. This doubles the load on the working side.
- Add a weighted backpack. Fill a backpack with books or water bottles and wear it during the row. Start with 5–10 pounds and add 2–3 pounds per week.
Do not add difficulty until your form is perfect. If your hips sag or you shrug your shoulders during the pull, drop back to an easier variation first.
Common Mistakes That Limit Back Growth at Home
Pulling with your arms instead of your back. If you feel the exercise in your biceps but not between your shoulder blades, you are pulling with your elbows forward instead of back. Start each rep by squeezing your shoulder blades together, then bend your elbows.
Shrugging your shoulders toward your ears. This shifts work to your upper traps and off your lats. Keep your shoulders down and away from your ears throughout every rep.
Skipping back because it is hard. Pushing movements—pushups, dips, shoulder presses—are easier to do at home because gravity helps. Pulling against gravity is harder, so most people avoid it. That imbalance causes the rounded-shoulder posture back training is supposed to fix.
Not tracking progression. Write down your reps and sets. If you did 3 sets of 10 inverted rows last week, aim for 3 sets of 11 this week, or add one extra set. Without progression, you maintain strength but do not build it.
Doing too much too soon. If you have never trained your back, start with 2 sets of each exercise. Soreness in your mid-back and lats is normal for 2–3 days after your first session. Inability to lift your arms or sharp pain is not. Add volume gradually.
What If You Have No Equipment and No Sturdy Table?
You can still train your back using only your bodyweight and a wall.
Wall slides: Stand with your back against a wall, arms raised overhead in a Y shape. Slide your arms down the wall while pulling your shoulder blades together, forming a W shape with your arms. Reverse the movement. Do 3 sets of 15 reps.
This activates your mid-traps and rhomboids. It is easier than rows, so use it as a warm-up or on days when you travel.
Floor Y-T-W raises: Lie face down and lift your chest slightly. Move your arms through three positions: Y (overhead), T (straight out to the sides), and W (elbows bent at 90 degrees). Hold each for 3 seconds. Do 2 sets of 8 reps per position.
This targets the same retraction muscles as rows but with less resistance. It is a good substitute if you cannot perform inverted rows yet.
Isometric holds: The doorway pull and Superman hold listed earlier require nothing but space. Isometrics build strength even though they do not move a joint, and they are especially useful for correcting posture.
When to Add Resistance Bands or Weights
Resistance bands cost $10–$30 and add enough variety to keep you progressing for months. They allow you to do standard rows, face pulls, and lat pulldowns at home.
Buy a set with handles and a door anchor. A medium-resistance band (15–35 pounds of tension) works for most women starting out.
If you have access to dumbbells, a single heavy dumbbell or kettlebell allows single-arm rows, which train each side independently and help correct imbalances. Hold the weight in one hand, hinge forward, and pull it to your hip while keeping your elbow close to your body.
You do not need a full home gym to train your back well, but one or two tools make progression smoother once bodyweight rows become easy.
Back Training and Posture: What Changes to Expect
Within 2–3 weeks of consistent back training, you will notice your shoulders sit farther back naturally. Neck and upper back tightness typically improves within 4–6 weeks as your mid-traps and rhomboids get stronger and take pressure off your neck muscles.
Visible muscle growth—seeing definition in your upper back and lats—takes 8–12 weeks of progressive training. If you are in a calorie deficit, you will see changes sooner as you lose fat. If you are eating at maintenance or a surplus, muscle growth will drive the change.
A small 2016 study in the Journal of Physical Therapy Science found that scapular stabilization exercises improved head posture and neck pain in people with forward head posture. (source: Im B et al., 2016, J Phys Ther Sci) In that study, participants trained for 30 minutes a day, three times a week, for four weeks. (source: Im B et al., 2016, J Phys Ther Sci)
Back training alone will not fix posture if you also need to stretch your chest and improve your desk setup, but it is the necessary first step.
What the Research Says About Back Training
Backed by research
What reviews and guidelines say
- A 2021 Cochrane review of 249 trials found moderate-certainty evidence that exercise is more effective than no treatment for chronic low back pain.Source: Hayden JA et al. (2021). Exercise therapy for chronic low back pain. Cochrane Database Syst Rev
- A 2017 meta-analysis found that muscle growth was similar with light and heavy loads, while maximal strength benefited most from heavy loads, which is why band rows and bodyweight rows taken close to your limit still build the back.Source: Schoenfeld BJ et al. (2017). Strength and hypertrophy adaptations between low- vs. high-load resistance training. J Strength Cond Res
- The NHS recommends strengthening activities that work all major muscle groups, including the back, on at least 2 days a week.Source: NHS: Physical activity guidelines for adults aged 19 to 64
If you have back pain now, follow your clinician’s advice first; these sources describe general findings.
Questions About Training Back at Home
Can I build a strong back without a pull-up bar?
Yes. Inverted rows under a table and resistance band rows train the same pulling muscles as pull-ups and provide enough resistance to build strength and muscle. Pull-ups are more convenient and easier to progress, but they are not required.
How do I know if I am using the right muscles?
You should feel the work between your shoulder blades and along the sides of your upper back (your lats). If you feel it mostly in your biceps, reset your form: start each rep by pulling your shoulder blades together before bending your elbows. If you feel it in your lower back, brace your core harder to keep your torso stable.
Is two times per week enough, or do I need three?
Two sessions per week will build strength and muscle, especially if you are new to back training. Three times per week allows faster progression, but only if you recover fully between sessions. If your back is still sore from the previous workout, delay the next session by a day.
Do I need to train back and biceps on the same day?
No. Rows and other back exercises already work your biceps as secondary muscles, so you can train them separately if your schedule works better that way. Pairing them on the same day (a pull day) is efficient but not mandatory.
How long before I see results?
Strength improvements show up first: within 2–3 weeks, you will be able to do more reps or a harder variation. Posture changes appear within 4–6 weeks. Visible muscle growth takes 8–12 weeks of consistent progressive training.
What if my table is not strong enough for inverted rows?
Test it first by hanging from it with bent knees before you try a full row. If it wobbles, use a heavier desk, the frame of a sturdy bed, or a squat rack if you have access to one. If no furniture works, resistance band rows and floor exercises (Superman holds, reverse snow angels) can carry your program until you find a stable anchor point.
Safety note: This article is general fitness information, not medical advice. If you have an injury, a heart or blood-pressure condition, are pregnant or postpartum, or have not exercised in a long time, check with a doctor or physiotherapist before starting. Stop and get advice if you feel chest pain, dizziness, unusual breathlessness, or sharp joint pain. Test any table or anchor with partial effort before trusting it with your full weight.
How This Guide Was Put Together
This guide is based on general strength training principles, biomechanics of rowing movements, and postural correction studies published in the Journal of Physical Therapy Science. (source: Im B et al., 2016, J Phys Ther Sci) The progressions and rep ranges follow standard strength training guidelines for beginners to intermediate trainees.