Hey there, fellow sweet tooth! If you’re anything like me, you’ve probably spent countless hours debating whether Oreos are better dunked in milk or just eaten straight from the package. Well, today we’re taking things to the next level—by turning those beloved cookies into a luscious, dreamy Oreo smoothie. Trust me, this isn’t just a drink; it’s a whole vibe. Plus, it’s super easy to whip up, and I’ll walk you through every step so you can impress your friends—or just treat yourself after a long day. Ready? Let’s blend!
Why You’ll Love This Oreo Smoothie
Before we get into the nitty-gritty, I gotta tell you why this smoothie is a total game-changer. First off, it’s deliciously rich—think of that perfect balance of creamy and chocolatey that hits all the right notes. Second, it’s quick to make; no fancy equipment or long prep times required. And lastly, it’s versatile—you can tweak ingredients to suit your taste, whether you want it thicker, creamier, or a tad healthier.
And FYI, I’ve tested this recipe a dozen times in my kitchen, and each time I end up feeling like a dessert chef. It’s that good. So, if you’re craving something sweet but don’t want to overdo it, this Oreo smoothie is your new best friend.
Ingredients You’ll Need
Let’s gather the essentials. This recipe makes about 2 servings, perfect for sharing—or not! 🙂
Basic Ingredients
- Cookies: 6 Oreo cookies (the classic, of course)
- Milk: 1 cup (any kind—dairy, almond, oat—your call)
- Banana: 1 ripe banana (adds creaminess and natural sweetness)
- Yogurt: ½ cup vanilla or plain Greek yogurt (for extra creaminess and protein)
- Sweetener: 1–2 tablespoons honey, agave syrup, or maple syrup (optional, depending on your sweetness preference)
- Ice: ½ cup (for that chilled, slushy vibe)
Optional Delicious Add-ins
- Chocolate chips: a handful for extra chocolatey goodness
- Peanut butter: 1 tablespoon if you’re feeling nutty
- Vanilla extract: ½ teaspoon for enhanced flavor
- Oatmeal: 2 tablespoons if you want a heartier texture
How to Make Your Oreo Smoothie
Now, onto the fun part—actually blending! This takes about 5 minutes, tops. I promise, it’s so simple you’ll wonder why you ever bought pre-made smoothies.
Step 1: Prep Your Ingredients
Break the Oreo cookies into smaller pieces—this helps them blend more evenly. If you’re using a banana, peel and chop it into chunks. No need to overthink; just make sure everything’s ready to go.
Step 2: Combine Everything in the Blender
Add the Oreo pieces, banana, yogurt, milk, sweetener (if using), and ice into your blender. If you’re adding extras like peanut butter or chocolate chips, toss them in now.
Step 3: Blend Until Smooth and Creamy
Secure the lid tight and blend on high for about 30–45 seconds. Stop and check the consistency—if it’s too thick, add a splash more milk. If you want it thicker, toss in a few more ice cubes.
Step 4: Taste and Adjust
Give it a quick taste test. Want more chocolate flavor? Drop in a few more Oreo crumbs or a splash of chocolate syrup. Looking for extra sweetness? A drizzle more honey should do the trick.
Step 5: Serve and Enjoy
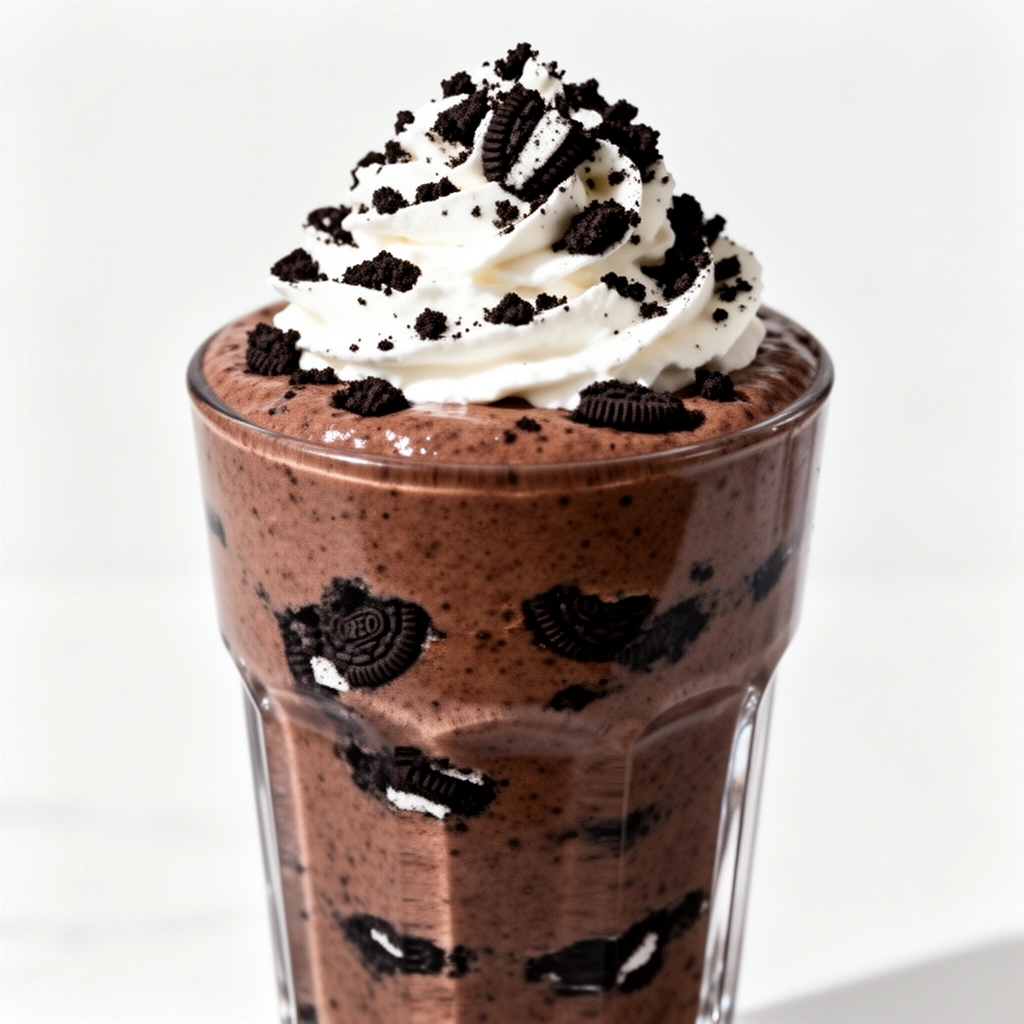
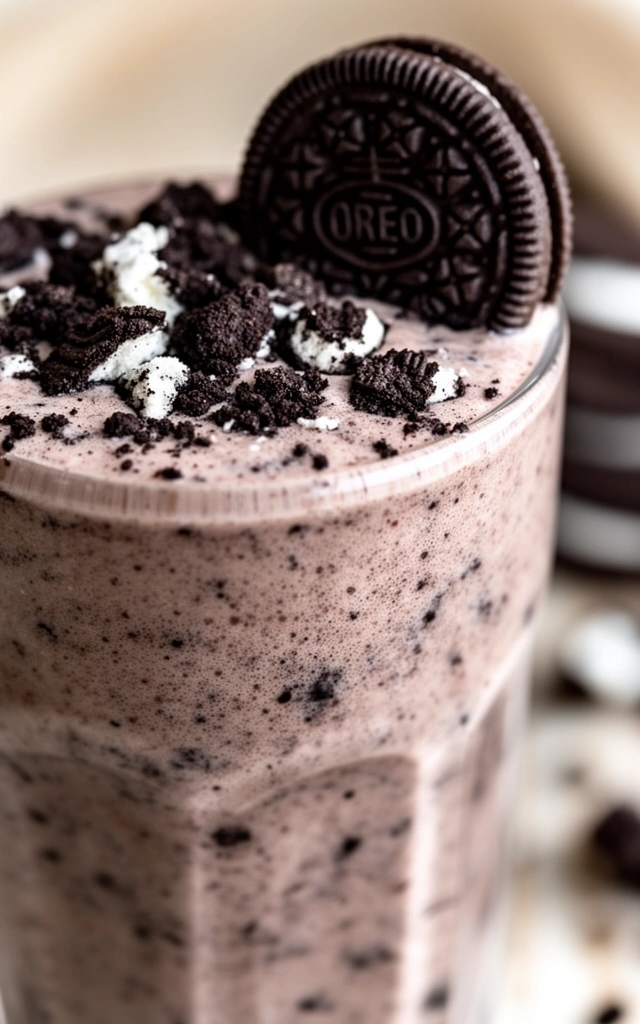
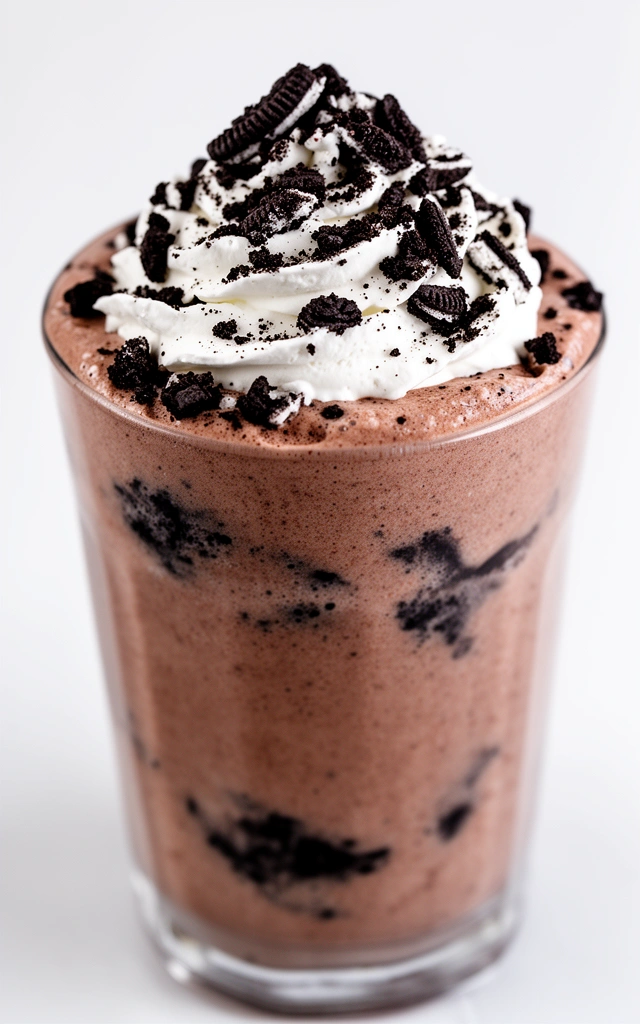
Pour into glasses, garnish with a mini Oreo or a swirl of whipped cream if you’re feeling fancy, and sip away. Trust me, this will be your new go-to dessert or snack.
Tips for the Perfect Oreo Smoothie
- Use cold ingredients for a chilled, refreshing drink.
- Adjust the sweetness based on your taste; the cookies already add some sugar, so go light if you’re watching your intake.
- For a vegan version, swap out the yogurt for coconut or almond yogurt, and use plant-based milk.
- Make it thicker or thinner by playing with the ice and milk ratios—less milk equals a more milkshake-like texture.
Storing Your Oreo Smoothie
Here’s the deal—this smoothie is best enjoyed fresh. But if you have leftovers, don’t worry. Here’s how to store it:
- Transfer to an airtight container and refrigerate. It’ll stay good for about 24 hours, but the texture might change slightly—think more liquid than slush.
- Re-blend before drinking if it separates or looks a bit watery.
- Avoid freezing as freezing may cause ice crystals to form and ruin that silky texture.
Pro tip: If you want to prep it ahead of time, blend the ingredients and store in the fridge. Just give it a quick stir or re-blend before serving.
A Few Variations to Try
Because I love experimenting, here are some fun ways to switch up your Oreo smoothie:
- Oreo and Coffee: Add a shot of espresso or a teaspoon of instant coffee powder for a mocha twist.
- Double Chocolate: Throw in some cocoa powder or chocolate syrup for an extra chocolate punch.
- Fruity Oreo: Mix in berries like strawberries or raspberries for a tangy contrast.
- Protein Power: Boost your smoothie with a scoop of protein powder—great post-workout treat!
Final Thoughts: Why This Oreo Smoothie Will Be Your Favorite
Honestly, this Oreo smoothie hits all the right spots—sweet, creamy, chocolatey, and so easy to make. It’s perfect for lazy weekends, a quick dessert after dinner, or even a late-night snack that doesn’t make you feel guilty. Plus, it’s customizable—so you can make it your own every time.
Next time you’re craving something indulgent but want to keep it simple, remember this recipe. It’s like a milkshake, but way healthier (or at least, slightly less guilty). Trust me, once you try it, you’ll be making this on repeat.
So, what are you waiting for? Grab those Oreos, toss everything in the blender, and treat yourself. Life’s too short for boring snacks!
Ready to Get Blending?
If you love this recipe, don’t forget to share your creations on social media or drop a comment below. I’d love to hear how you customized your Oreo smoothie—extra cookies, whipped cream, or maybe even a dash of chili powder for a spicy kick? 😜
Happy blending, and enjoy every creamy sip!
P.S. Keep a stash of Oreos nearby. You never know when a spontaneous smoothie craving will strike.
Leave a Reply