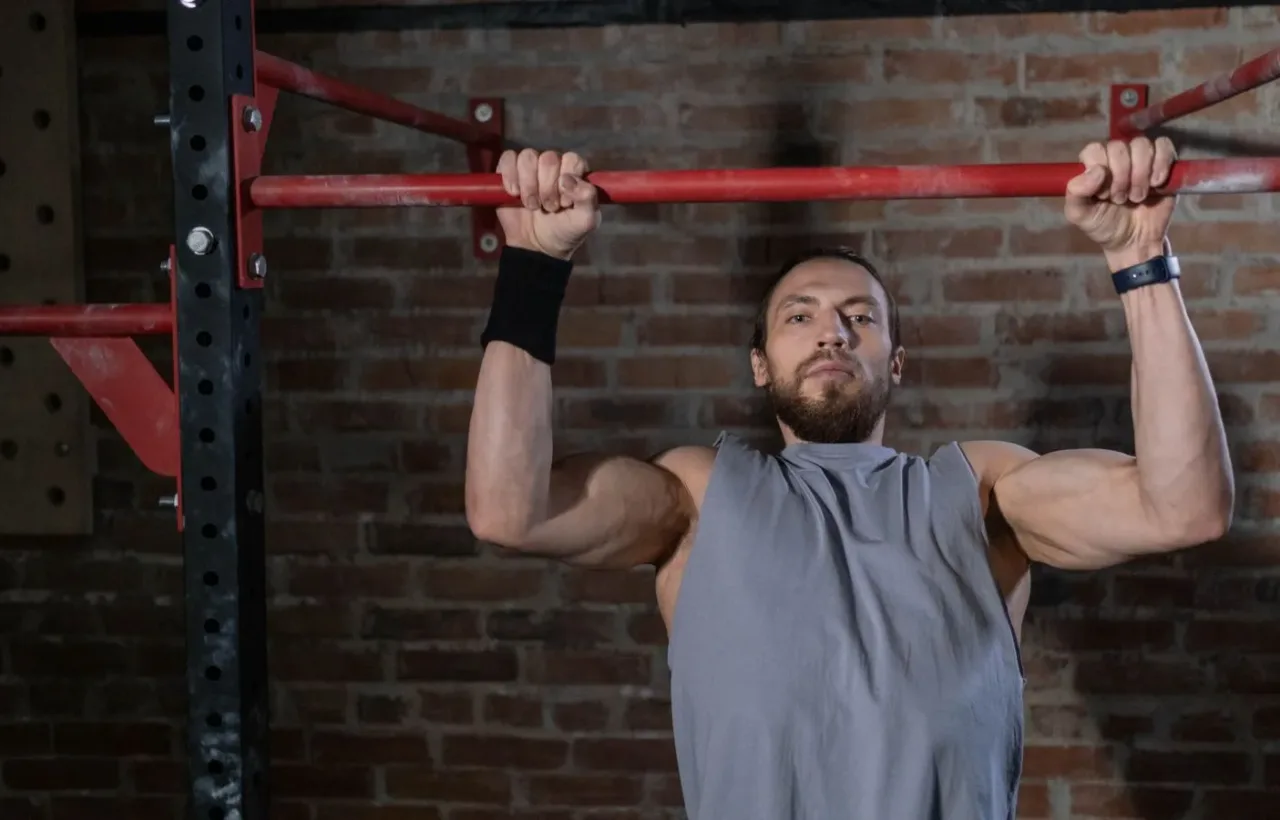

A back and bicep workout at home works best when it starts with rows, not curls. Rows train the large back muscles and bring in the biceps as helpers, then curls finish the arms with direct work.
Done twice a week with a table row, a dumbbell or backpack row, and two curl variations, this plan can cover the main pulling muscles without a gym. You will learn how to choose exercises for the equipment you actually have, how to set reps and load, and how to progress without unsafe furniture setups or rushed form.
Why Pulling Is the Hard Part at Home
Pushing is easy to train at home because the floor gives you push-ups. Pulling is harder because you need something secure to pull against, or something heavy enough to row.
Your back is not one muscle. The latissimus dorsi, the broad muscles at the sides of the back, help pull the upper arm down and back. The rhomboids and trapezius, between and around the shoulder blades, help squeeze the shoulder blades together during rows. The biceps brachii, at the front of the upper arm, bend the elbow and help with both rows and pull-ups.
That anatomy explains the order of this workout. Do the multi-joint rows first, while you are fresh, then do the single-joint curls. The American College of Sports Medicine position stand on progression in resistance training makes the same general point for program design: sequence large muscle group exercises before small muscle group exercises, and multi-joint exercises before single-joint exercises, according to the ACSM position stand on progression models in resistance training.
Skipping rows and doing only curls is the most common home mistake. Your arms may feel tired, but your back gets too little work to balance all the pushing most people already do.
What You Need for a Back and Bicep Workout at Home
You do not need a full home gym, but you do need a safe way to create resistance for pulling. One secure row setup and one load you can curl are the minimum for a complete session.
Choose based on what you own:
| Equipment you have | Best back choice | Best biceps choice | Main limit |
|---|---|---|---|
| No equipment | Table inverted row, prone Y-T-W | Towel self-resisted curl, isometric curl against your other hand | Hard to add load over time |
| Filled water bottles or cans | Backpack row, one-arm row with a bottle if it is heavy enough | Standard curl, hammer curl | Light load becomes easy quickly |
| Resistance band with a secure anchor | Standing or seated band row | Band curl | Band must be checked for tears and anchored securely |
| One or two dumbbells | One-arm dumbbell row, bent-over row | Dumbbell curl, alternating curl, hammer curl | Best option for gradual progression |
| Rated pull-up bar | Pull-up or chin-up, plus rows | Chin-up also trains biceps | Only use a bar rated for your body weight and installed as directed |
Harvard Health notes the same practical substitute for curls. According to Harvard Health's biceps curl guidance, you can use light dumbbells, soup cans, full plastic water bottles, or another easy-to-hold item that feels like an appropriate weight.
Do not hang from a door, door frame, shower rail, or furniture unless the product is designed and rated for that load. For a table row, use a sturdy table without wheels, test it with a partial load first, and stop if it slides, tips, or flexes.
Before You Start: Safety for Back and Shoulder Training
This workout is for healthy adults who can exercise without pain. Stop a set if you feel sharp pain, numbness, tingling, or pain that travels down an arm or leg, and do not push through joint pain to finish a rep range.
If you have a current back, neck, shoulder, or elbow injury, high blood pressure that is not controlled, or you have been inactive because of a medical condition, check with a clinician or physical therapist before starting rows, hip hinges, or overhead positions. Start with the easiest row angle and the lightest load, even if it feels too easy in week one. Good form in the first two weeks protects the progress you want later.
Warm-Up: 5 Minutes to Prepare Shoulders and Hips
A warm-up does not need to be long. The goal is to raise your temperature slightly and practise the row pattern with no load.
Do this once through:
- March in place or walk around the room for 2 minutes
- 10 arm circles forward and 10 backward, small then larger
- 10 shoulder blade squeezes: draw the blades down and together, hold 1 second, release
- 10 bodyweight hip hinges with hands on hips, pushing the hips back with a flat back
- 8 very light rows with a band or empty hands, pausing at the top
If a joint feels stiff, spend another minute on gentle movement in a pain-free range. Do not stretch aggressively into pain before lifting.
The Main Exercises, With Form That Keeps the Back Doing the Work
Learn these moves in this order. The row variations come first because they train back and biceps together. The curls come last because they isolate the elbow bend.
One-Arm Dumbbell or Backpack Row
This is the main loaded row for most home trainees. It trains one side at a time, which helps you notice if one side is weaker or shrugging more.
- Place your left knee and left hand on a sturdy chair or sofa edge. Keep your right foot on the floor.
- Hold the weight in your right hand below your shoulder. Keep your back flat and your head in line with your spine.
- Pull the weight toward the lower ribs by driving the elbow back, not by lifting the hand high.
- Pause for 1 second with the shoulder blade drawn in. Lower slowly for 2 to 3 seconds.
Switch sides. If your lower back rounds or you have to twist to lift the weight, the load is too heavy for now.
Table Inverted Row
This bodyweight row trains the upper and mid-back and needs no weight. Your body angle controls the difficulty: more upright is easier, more horizontal is harder.
- Lie under a sturdy table and hold its edge with hands about shoulder-width apart.
- Keep your body in one straight line from head to heels, with heels on the floor and knees bent if you need an easier version.
- Pull your chest toward the table edge by squeezing your shoulder blades together.
- Lower slowly until your arms are straight, without letting your hips drop.
To make it harder over time, straighten your legs. Later, you can literally elevate your feet on a low, stable step. Never use a table that moves when you test it.
If you have no safe table, replace this move with a standing band row. Anchor the band at chest height to a secure anchor made for bands, step back until the band is taut, and row the handles to your ribs.
Prone Y-T-W for the Upper Back
This floor move trains the muscles that control the shoulder blades, using only body weight. It looks easy, but small controlled reps are hard when done slowly.
Lie face down with your forehead resting on a folded towel. For the Y, reach your arms forward at an angle and lift them slightly while keeping your thumbs up. For the T, open your arms out to the sides. For the W, bend your elbows and draw them down toward your ribs as you squeeze your shoulder blades.
Lift only a small distance off the floor. The aim is control in the upper back, not height. If your lower back aches, make the lift smaller and tighten your abdominal muscles lightly before each rep.
Bent-Over Row and Hip Hinge Row
This version trains the back with a hip hinge, the pattern of pushing your hips back while keeping your spine in a neutral position. Neutral means you keep the natural curve of your back instead of rounding or overarching it.
Stand with feet about hip-width apart, holding a dumbbell in each hand or a loaded backpack by its handle with both hands. Hinge from the hips until your torso is roughly 30 to 45 degrees from upright. Pull the weights toward your lower ribs, pause, then lower slowly.
Choose this move only if you can hinge without lower back pain. If you cannot keep a flat back, use the one-arm supported row instead, because the chair support reduces the demand on the lower back.
Dumbbell Curl
The curl isolates the biceps because only the elbow bends. Keeping the upper arm still is what makes the biceps do the work instead of your shoulders and back.
Harvard Health describes a useful slow tempo for this move. According to Harvard Health, you stand tall with feet about shoulder-width apart, keep the elbow close to your side, rotate the palm up as you lift, and use a slow lift, pause, and slow lowering, working in the 8 to 12 rep range.
- Stand tall, chest lifted, shoulders back and down.
- Hold the weights at your sides. Start with palms facing in or forward.
- Bend one or both elbows and bring the weights toward your shoulders without swinging.
- Lower slowly until your arms are almost straight. Keep a small bend at the bottom if a fully straight arm bothers your elbow.
To make it easier, sit in a chair or use a lighter weight. To make it harder, use a heavier weight only when you can still keep your upper arms still, as Harvard Health also notes in its arm curl guidance.
Hammer Curl and Band Curl
A hammer curl uses a neutral grip, with palms facing each other. It still trains the biceps, and it also involves the brachioradialis, a forearm muscle that helps bend the elbow.
Use the same standing posture as the standard curl. Keep your wrists in line with your forearms and do not let the weights pull your wrists backward.
For a band curl, stand on the centre of the band with both feet, hold the ends, and curl against the band. Step wider on the band to add resistance, or use a shorter grip, only if you can finish each rep without leaning back.
The Twice-Weekly Plan
Adults should do muscle-strengthening activities that involve all major muscle groups on 2 or more days a week, according to the WHO physical activity fact sheet. The CDC gives the same adult target in its summary of the Physical Activity Guidelines for Americans: at least 150 minutes of moderate-intensity activity a week and 2 days of muscle-strengthening activity, according to the CDC adult activity guidance.
That does not mean back and biceps need training every day. Twice a week, on non-consecutive days, is a practical schedule for this workout for most beginners.
Workout A: Supported Row Focus
| Order | Exercise | Sets x reps | Rest |
|---|---|---|---|
| 1 | One-arm dumbbell or backpack row | 3 x 8-12 per side | 60-90 seconds |
| 2 | Table inverted row or band row | 3 x 6-12 | 60-90 seconds |
| 3 | Prone Y-T-W | 2 x 5-8 per position | 45-60 seconds |
| 4 | Dumbbell curl | 3 x 8-12 | 60 seconds |
| 5 | Hammer curl | 2 x 10-15 | 45-60 seconds |
Workout B: Bent-Over and Alternating Curl Focus
| Order | Exercise | Sets x reps | Rest |
|---|---|---|---|
| 1 | Bent-over row, or one-arm row if hinging hurts | 3 x 8-12 | 60-90 seconds |
| 2 | Band row or table inverted row, easier angle | 3 x 8-15 | 60 seconds |
| 3 | Prone Y-T-W or slow Superman hold, 10-20 seconds | 2 sets | 45-60 seconds |
| 4 | Alternating dumbbell curl | 3 x 8-12 per side | 60 seconds |
| 5 | Band curl or concentration curl | 2 x 10-15 | 45-60 seconds |
A concentration curl is a seated curl where you brace the back of your upper arm against your inner thigh and curl one arm at a time. Use it in Workout B if you tend to swing during standing curls, because the brace makes cheating harder.
Do Workout A on, for example, Monday and Workout B on Thursday. Walk or do other moderate activity on other days if that fits your overall activity target and recovery.
For the first week, do only 2 sets of each exercise. Add the third set in week two if muscle soreness is mild and your form stayed clean.
How to Choose the Right Load and Progress
A repetition maximum, or RM, is the heaviest load you can lift for a given number of reps with good form. An 8-12 RM load is one you can lift for at least 8 good reps, but not for more than about 12 good reps.
For novice training, loads in the 8-12 RM range are recommended, according to the ACSM position stand. The same position stand recommends a 2-10% increase in load when you can perform 1 to 2 repetitions over the desired number at the current workload.
At home, use this simpler version of that rule:
- Pick a load that leaves you 1 to 3 good reps short of failure at the end of a set. Failure means you could not do another rep without changing your form.
- When you reach the top of the rep range on all sets with clean form, progress one step.
- Progress one variable at a time: add 1 to 2 reps, slow the lowering to 3 seconds, make the inverted row more horizontal, or add a small amount of load.
For a backpack, add one book or one filled bottle at a time. For bodyweight rows, progress the angle before you add weight to your body. Small steps are easier to repeat and easier on elbows and shoulders.
Mistakes That Make Home Pulling Less Effective
Watch for these problems, because each one shifts work away from the target muscles or raises risk without adding benefit.
- Swinging the curls. If your torso rocks, the weight is too heavy or you are rushing. Brace your abdominal muscles, keep the upper arms still, and cut the load.
- Shrugging the rows. If your shoulders rise toward your ears, you are using the upper trapezius too much and squeezing the shoulder blades too little. Start each rep by drawing the blades down, then pull.
- Pulling to the neck instead of the ribs. On most rows, aim the elbows back and the hands toward the lower ribs. Pulling high often turns the move into a shrug.
- Rounding the lower back on bent-over rows. Stop the set, reduce the load, or switch to the supported one-arm row.
- Using unsafe furniture for inverted rows. A moving table is not a minor problem. Replace the exercise with a band row if you cannot make the setup completely stable.
- Training curls daily. The biceps also work during rows. They need recovery time between hard sessions, just like the back does. Keep at least one rest day between Workout A and Workout B.
- Never adding difficulty. Easy reps have value when you are learning, but staying at the same light load for months will limit strength gains. Progress by reps, angle, tempo, or load when form allows.
What the Guidelines Say About How Often to Train
The evidence section of this plan is short because the core claim is simple. Major guidelines agree on frequency, not on one perfect home exercise list.
The WHO recommends that adults do muscle-strengthening activities at moderate or greater intensity, involving all major muscle groups, on 2 or more days a week, according to its physical activity fact sheet. The CDC states the same 2-day muscle-strengthening target for adults alongside weekly aerobic activity, in its adult activity overview.
For loading, the ACSM position stand gives the most specific resistance-training detail used here: novice trainees use an 8-12 RM range, exercise order puts large and multi-joint work before small and single-joint work, and load rises by 2-10% when you can exceed the target by 1 to 2 reps, according to the ACSM position stand summary on PubMed.
Those sources do not promise a timeline for visible muscle change. How you respond will depend on your starting point, total training, sleep, food intake, and consistency, and progress is usually gradual rather than week-to-week dramatic.
Back and Biceps Questions, Answered Straight
Can I train back and biceps with no equipment at all?
Yes, but load is limited. Use the table inverted row as your main pull and prone Y-T-W for the upper back, and progress by making your body more horizontal and slowing the lowering phase. For biceps, self-resisted and isometric curls can create effort, but a band, bottles, or dumbbells give you a clearer way to progress.
Should I do pull-ups in this workout?
Only if you have a bar that is designed for pull-ups, rated for your weight, and installed exactly as directed. If you have that setup, you can replace the first row in Workout B with chin-ups, palms facing you, for 3 sets of as many clean reps as you can do while leaving 1 rep in reserve. If you cannot do one yet, keep the rows as your main work.
Why do my forearms tire before my back on rows?
Grip often limits rows before the back does, especially with smooth backpack handles or thick dumbbell handles. Shorten the set, rest, then continue, or use a supported row so you can focus on pulling form. Do not use a grip aid that attaches you to a load you cannot release quickly at home.
Is soreness a sign the workout worked?
No. Soreness after a new exercise is common, but it is not a reliable measure of a good session and severe soreness is a reason to reduce load or volume next time. Judge the workout by clean reps, a load you can progress over weeks, and recovery that lets you train again on schedule.
Can this workout help my posture?
It may help you strengthen the muscles that pull the shoulder blades back and down, which are part of normal postural control. It does not diagnose or fix a postural problem, and persistent neck, shoulder, or back pain needs individual assessment rather than a general home plan.
Related Home Workouts
How This Guide Was Put Together
This guide is based on the WHO physical activity recommendations, the CDC summary of the Physical Activity Guidelines for Americans, the ACSM position stand on progression models in resistance training for healthy adults, and Harvard Health guidance on biceps curl form, all linked above. It does not claim personal testing, expert review, or individual results.
Sources
- World Health Organization. Physical activity fact sheet.
- Centers for Disease Control and Prevention. Adding Physical Activity as an Adult.
- American College of Sports Medicine. Progression models in resistance training for healthy adults, position stand, Medicine & Science in Sports & Exercise, 2002.
- Harvard Health Publishing. Try this: Build better biceps.
- Harvard Health Publishing. Move of the month: Arm curls.