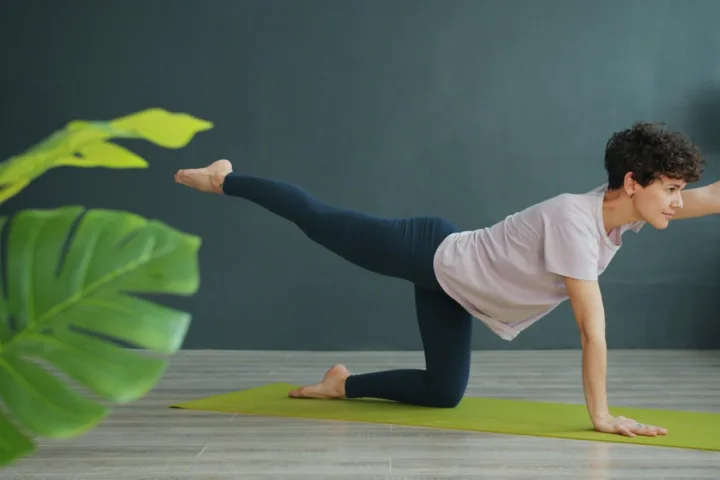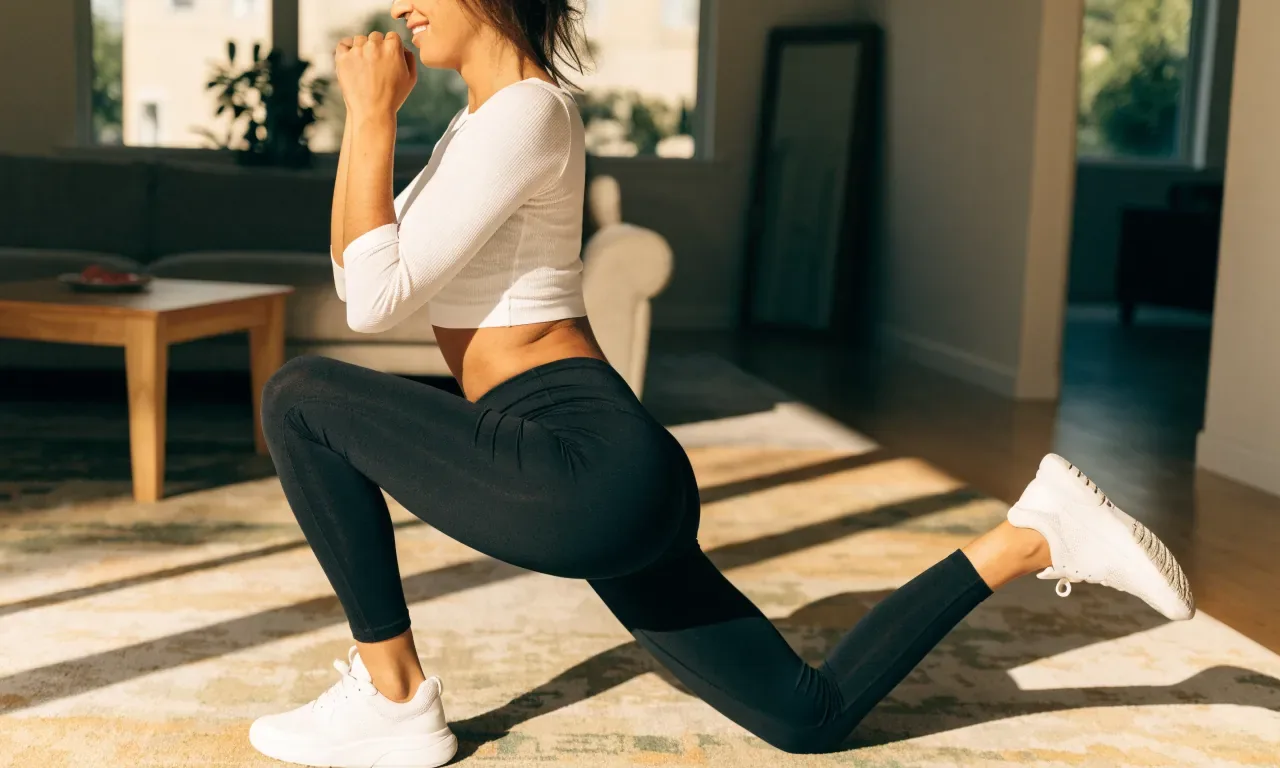

These 10 leg workout at home toning exercises train your thighs, glutes, hamstrings, and calves with no equipment, in about 30 to 40 minutes. Do 2 sets of each move, 2 to 3 times a week on non-consecutive days, and your legs will get stronger and firmer in how they work and feel.
"Toning" here means building muscle and strength, not shrinking one spot on command. The plan below gives you form for each exercise, an easier and harder option, a weekly schedule, and clear rules for when to progress and when to back off.
What Toning Your Legs Actually Means
Toned legs come from stronger muscle, not from doing hundreds of light reps of one move.
Muscle is what gives legs shape. When you train a muscle against resistance that feels hard by the last few reps, it adapts and gets stronger. Body weight counts as resistance if the exercise, rep range, and tempo make those final reps challenging.
Leg training alone will not remove fat from only your thighs. A systematic review and meta-analysis on spot reduction by Ramirez-Campillo and colleagues (2022) pooled 13 studies with 1,158 participants and found no spot reduction, with a pooled effect size of -0.03. Fat loss, when it happens, happens across the body and is driven mainly by overall activity and eating patterns, not by which muscle you trained.
That limit is useful, not discouraging. It means you can judge this workout by honest measures: more clean reps, harder variations, better balance, and stairs or hills that feel easier.
Before You Start: Space, Gear, and a Safety Check
You need a clear floor area, a wall, and a solid, stable chair or step that does not have wheels and will not slip. The NHS strength exercises guidance uses that same chair standard for sit-to-stands and calf raises, and advises building up slowly.
Wear shoes with grip or go barefoot on a non-slip surface. Keep water nearby. Skip socks on smooth floors except for the hamstring slide exercise, where sliding is the point and you should hold a stable support if your balance is unsteady.
This workout is general information for healthy adults, not personal medical advice. If you have been inactive for a long time, have a heart condition, uncontrolled blood pressure, diabetes, a knee, hip, ankle, or back problem, a recent injury or surgery, or you are pregnant or recently gave birth, check with a clinician or physiotherapist before starting. Stop a session and seek care for chest pain or pressure, severe breathlessness, dizziness, faintness, or sharp joint pain.
How to Run the Session
Warm up for 5 minutes first because cold muscles are more prone to strain. March in place, walk around your home, do easy sit-to-stands, and move your ankles and knees through a comfortable range. Harvard Health tips for safe strength training advise warming up and cooling down, breathing out as you lift or push and in as you lower, and not locking your knees or elbows at the top of a movement.
For most exercises, aim for 8 to 12 controlled repetitions per set. According to the CDC guidance on what counts as muscle strengthening, 8 to 12 repetitions make one set, you should do at least 1 set, and 2 to 3 sets bring more benefit, working to the point where another clean repetition would be hard. Rest 60 to 90 seconds between sets, longer if your form needs it.
Weeks 1 to 2, do 1 to 2 sets and stop each set with 2 to 3 good reps still in reserve. From week 3, use 2 sets for all 10 moves if you recover well between sessions.
| Part | Time | What to do |
|---|---|---|
| Warm-up | 5 minutes | March, easy sit-to-stands, ankle circles |
| Main workout | 25 to 32 minutes | Exercises 1 to 10, 2 sets each |
| Cool-down | 3 to 5 minutes | Slow walk, calf and thigh stretches |
| Frequency | 2 to 3 days a week | Non-consecutive days, at least 48 hours apart |
The 10 Exercises, in Order
Do the exercises in this order because the large, multi-joint moves come first while you are fresh, and the smaller calf and hip moves come later. That sequencing follows the principle in the ACSM position stand on progression models in resistance training to perform larger muscle group and multi-joint exercises before single-joint work.
1. Sit-to-Stand, Then Bodyweight Squat
Stand in front of a chair with feet hip-width apart. Sit back until you lightly touch the chair, then stand by pushing through your whole foot and squeezing your glutes.
The NHS version aims for 5 slow repetitions to start, using your legs rather than your arms. Do 8 to 12 reps here. Easier: use a higher chair and your hands for light help. Harder: lower the target, slow the lowering to 3 seconds, or progress to a free squat with no chair.
2. Glute Bridge
Lie on your back, knees bent, feet flat and hip-width apart. Push through your heels, lift your hips until knees, hips, and shoulders form a straight line, pause for 1 second, then lower slowly.
Do 10 to 15 reps because bridges usually allow a higher range. Easier: lift only partway. Harder: march one foot a few centimetres off the floor at the top, or move to 1 set per leg as a single-leg bridge for 6 to 10 reps.
3. Supported Reverse Lunge
Hold a chair or wall. Step one foot back, lower until both knees bend comfortably, then push through the front foot to return.
Reverse lunges tend to feel steadier than forward lunges because the front foot stays planted. Do 6 to 10 reps per leg. Easier: shorten the step and the depth. Harder: let go of support, slow the lowering, or hold filled water bottles.
4. Step-Up
Place one foot fully on a low, sturdy step or the bottom stair. Push through that foot to stand up, tap the other foot beside it, then step down with control.
Do 6 to 10 reps, then switch legs, leading with the same leg for the full set so it does the work. Easier: use a lower step and a handrail. Harder: use a higher step below knee height, or pause for 2 seconds at the top without pushing off the floor foot.
5. Hip Hinge, or Bodyweight Romanian Deadlift
Stand with feet hip-width apart and a soft bend in your knees. Push your hips back as if closing a door behind you, keep your back flat and chest lifted, feel a stretch in the back of your thighs, then stand tall by squeezing your glutes.
The hinge trains hamstrings and glutes, which squats alone underwork. Do 8 to 12 reps. Easier: hinge only until your hands reach mid-thigh. Harder: hold a loaded backpack in front of your chest, or practise a single-leg hinge while touching a wall.
6. Side Lunge
Step wide to the right, sit your hips back and bend the right knee while the left leg stays straight. Push through the right foot to return, then alternate sides.
This adds side-to-side movement, which daily life and sports need but straight-ahead workouts miss. Do 6 to 10 reps per side. Easier: step less wide and bend less deeply. Harder: stay low and shift side to side without standing fully upright between reps.
7. Wall Sit
Slide down a wall until your thighs are as close to parallel to the floor as you can manage with good form, knees tracking over your feet. Hold while breathing normally.
Wall sits build thigh endurance without needing balance. Hold for 20 to 45 seconds per set. Easier: sit higher on the wall for 15 to 20 seconds. Harder: extend the hold, or lift one heel for 5 seconds at a time. Come out of the position if you get sharp knee pain, not just thigh effort.
8. Standing Calf Raise
Hold the back of a chair. Rise onto the balls of your feet as high as is comfortable, pause, then lower slowly until your heels touch the floor.
The NHS advises making this movement slow and controlled, starting with 5 reps and building up. Do 10 to 15 reps here. Easier: do them seated with feet flat, pressing down through the balls of your feet. Harder: do them one leg at a time, or on a step so your heels can lower below step level if your ankles allow it.
9. Sideways Leg Lift
Stand tall holding a chair. Raise one leg out to the side as far as is comfortable, keeping your hips facing forward and your trunk upright, then lower slowly.
The NHS version stresses keeping your back and hips straight and avoiding a lean away from the moving leg. Do 8 to 12 reps per side. Easier: lift only a short distance. Harder: pause for 2 seconds at the top, or do the move lying on your side with the bottom arm supporting your head.
10. Hamstring Slide
Lie on your back in a bridge position, heels on a towel on a smooth floor or wearing socks. Keeping your hips lifted, slide your heels away until your legs are almost straight, then pull them back by digging your heels in.
This trains the hamstrings through both hip and knee movement, which most home plans miss. Do 6 to 10 slow reps. Easier: slide only partway, or bend one knee with the foot flat while the other leg slides. Harder: slide one leg at a time while the other foot hovers.
A Weekly Plan You Can Repeat
Two good leg days beat five exhausting ones you quit in week 2.
According to WHO physical activity guidance, adults should do muscle-strengthening activities involving major muscle groups on 2 or more days a week, alongside 150 to 300 minutes of moderate aerobic activity or 75 to 150 minutes of vigorous activity a week, or an equivalent mix. This workout covers the leg part. Walking, cycling, dancing, or other activity you enjoy covers the aerobic part.
| Day | Session |
|---|---|
| Monday | Full 10-exercise workout |
| Tuesday | Walk or other moderate activity, 20 to 40 minutes |
| Wednesday | Rest or gentle mobility |
| Thursday | Full 10-exercise workout |
| Friday | Walk or other moderate activity, 20 to 40 minutes |
| Saturday | Optional third workout, 1 set of each exercise only |
| Sunday | Rest |
Harvard Health advises resting muscles for at least 48 hours between strength sessions, which is why leg days here are never back to back. If you are still very sore or your reps drop sharply, take an extra rest day rather than pushing through poor form.
How to Progress Over 4 Weeks
Progress in a fixed order so you know what changed and why. First add reps, then add a set, then use a slower tempo or a pause, then move to the harder variation or add load from a backpack or bottles.
That order reflects the ACSM recommendation for novices to train 2 to 3 days a week in the 8 to 12 repetition range, and to increase load by about 2 to 10% when you can perform 1 to 2 repetitions over your target. With body weight, a harder variation or a small backpack increase is your version of that load jump.
- Weeks 1 to 2: 1 to 2 sets, lower end of each rep range, learn positions.
- Week 3: 2 sets for all exercises, add 1 to 2 reps where form stayed clean.
- Week 4: Keep 2 sets, choose a harder option for only 2 or 3 exercises, not all 10 at once.
Mild muscle soreness 24 to 48 hours after a new session is common. Sharp pain, joint pain that changes how you move, or soreness that is not easing after 3 days is a signal to reduce depth, reps, or load and, if it persists, get checked.
Mistakes That Stall Leg Toning at Home
- Rushing reps. Fast, bounced squats and calf raises use momentum instead of muscle. Slow the lowering phase to about 2 to 3 seconds on most moves.
- Training only the front of the thigh. Squats and lunges dominate many home plans. Keep the hinge, bridge, and hamstring slide in the plan so glutes and hamstrings get direct work.
- Letting knees collapse inward. On squats, lunges, and step-ups, track knees in the same direction as your toes. Reduce depth or use support if you cannot control that position yet.
- Doing leg day daily. Muscle adapts between sessions, not during them. Keep at least one full rest day between hard leg workouts.
- Never making it harder. If 12 reps feel easy for 2 sessions in a row and form is clean, you have outgrown that version. Progress one variable as described above.
- Skipping single-leg work. Step-ups, reverse lunges, and single-leg options expose left-right differences that two-leg moves can hide. Keep reps even on both sides, starting sets with the weaker side if you notice one.
If knee discomfort appears on lunges or step-ups, try these fixes in order: shorten the step, reduce depth, hold support with both hands, and place the whole front foot flat with weight through the heel and mid-foot. If pain is sharp, causes swelling, or the knee gives way, stop that exercise and seek professional advice instead of modifying it repeatedly.
If balance is your limit on step-ups or lunges, that is information, not failure. Use a wall within reach, slow down, and practise the easier version until the movement is steady. Balance usually improves as leg strength improves, but only if you practise at a level you can control.
Leg Toning Questions, Answered Straight
How long does this workout take?
About 30 to 40 minutes with 2 sets, including the warm-up. A 1-set version takes about 18 to 22 minutes and is a sensible choice in your first week or on a busy day, because the CDC notes at least 1 set already counts toward muscle-strengthening benefits.
Can I do these exercises without weights and still get results?
Yes, if the last few reps feel hard while your form stays clean. Body weight is enough to start, and progression comes from reps, tempo, pauses, single-leg versions, and range of motion before you need to buy anything. A backpack with books or bottles is a free next step when a move becomes too easy.
How soon will my legs look different?
Strength and control usually improve in the first few weeks as you learn the movements, while visible muscle change takes longer and varies by person, training history, food, sleep, and overall activity. Judge the first month by performance records — reps, holds, and variations — not by a promised timeline, because no honest plan can guarantee one.
Should I add cardio on leg days?
You can, if it is easy. A short, comfortable walk after the workout is fine. Save hard running, hill sprints, or long rides for a separate day or after at least several hours, so tired legs do not change your form on either session.
What if I can only manage 5 reps at first?
Do 5 clean reps. The NHS sit-to-stand guidance starts at 5 repetitions for exactly this reason: the starting point is meant to be achievable. Add 1 rep at a time across sessions rather than forcing the full range on day one.
Do I need to feel sore for it to work?
No. Soreness is most common when an exercise is new, especially moves with a slow lowering phase such as the hamstring slide and hip hinge. A workout can build strength without leaving you sore, and chasing soreness often leads people to add too much, too soon.
Related Home Workouts
How This Guide Was Put Together
This guide is based on the WHO physical activity recommendations, CDC guidance on muscle-strengthening activity, NHS strength exercise instructions, Harvard Health strength training safety tips, the ACSM position stand on progression in resistance training, and the spot-reduction systematic review linked above. It does not claim personal testing, expert review, or individual results.
Sources
- World Health Organization. Physical activity.
- Centers for Disease Control and Prevention. What Counts as Physical Activity for Adults.
- NHS. Strength exercises.
- Harvard Health Publishing. 8 tips for safe and effective strength training.
- American College of Sports Medicine. Progression models in resistance training for healthy adults, position stand.
- Ramirez-Campillo R, et al. (2022). A proposed model to test the hypothesis of exercise-induced localized fat reduction (spot reduction), including a systematic review with meta-analysis. Human Movement, 23(3).