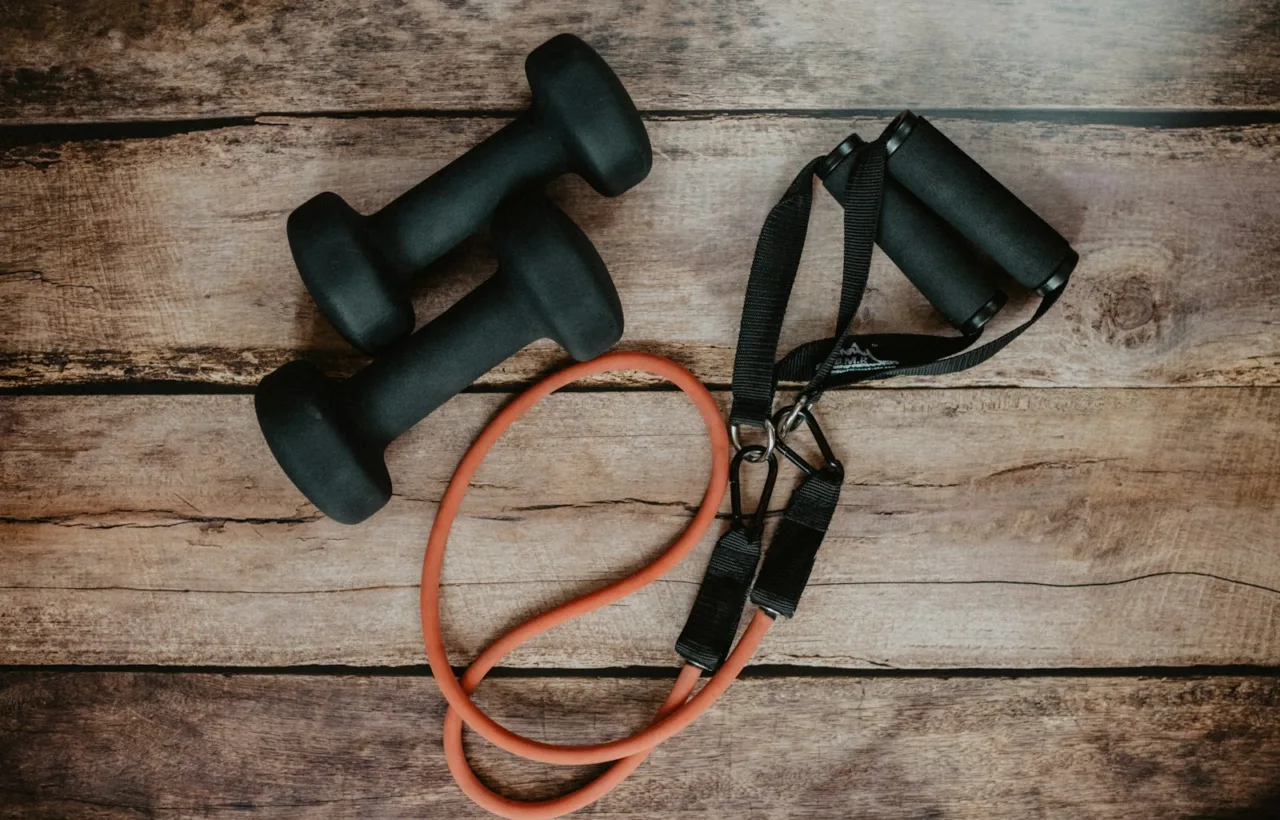

A home workout plan structures your training around exercises you can do with minimal or no equipment, covering the major movement patterns your body needs: pushing, pulling, squatting, hinging, and core stability. For most people starting out, three full-body sessions per week—each 30 to 45 minutes—will build strength, improve conditioning, and establish a sustainable routine.
Full-Body Home Workout Plan
Alternate Workout A and Workout B on three non-consecutive days. Tick each set as you finish it; your progress is saved on this device only.
Your next six sessions
- Wk 1 · Day 1Workout A
- Wk 1 · Day 2Workout B
- Wk 1 · Day 3Workout A
- Wk 2 · Day 1Workout B
- Wk 2 · Day 2Workout A
- Wk 2 · Day 3Workout B
Workout A
Workout B
Rest 60–90 seconds between sets (30–60 seconds if you are focusing on conditioning). Finish each set with one or two good reps left in reserve.
Add the next 4 weeks to my calendar
12 sessions, alternating A and B. Opens in Google Calendar, Apple Calendar and Outlook. Created on your device; nothing is sent to us.
This guide explains how to design a plan that fits your schedule and space, which exercises to prioritize, how to progress safely, and how to troubleshoot the most common problems beginners face when training at home. By the end, you'll have a clear framework to follow, whether you're working out in a spare bedroom, a garage, or your living room.
Why Home Training Works (and Where It Falls Short)
Training at home removes the barriers that stop many people from exercising: commute time, gym fees, crowds, and equipment intimidation. According to the World Health Organization's 2020 physical activity guidelines, adults need 150–300 minutes of moderate-intensity aerobic activity per week, plus muscle-strengthening activities on two or more days. A home workout plan meets both requirements without leaving your house.
The trade-off is limited resistance progression. Most home programs rely on bodyweight exercises, resistance bands, or light dumbbells, which means you'll eventually need to get creative with tempo, volume, or exercise variations to keep making progress. For the first six to twelve months, that's not a problem—beginners respond well to almost any consistent stimulus.
What You Actually Need to Get Started
Absolutely nothing. Bodyweight exercises—push-ups, squats, lunges, planks—work every major muscle group. If you have access to a sturdy chair, a doorway pull-up bar, or a set of resistance bands, you'll add pulling movements and more load options, but they're not required on day one.
If you do invest in equipment, prioritize versatility:
- Resistance bands (loop or tube style with handles): cover pulling exercises and add load to squats and presses for under $30
- Doorway pull-up bar or suspension trainer: essential for horizontal and vertical pulling, which is hard to replicate with bodyweight alone
- A single pair of adjustable dumbbells: if space and budget allow, these let you load movements progressively for years
Skip the gimmicks. A yoga mat is useful for floor work. Everything else—smart mirrors, expensive benches, specialized machines—can wait until you've proven to yourself that you'll stick with it.
The Core Movement Patterns Your Plan Must Include
A balanced home workout plan covers six movement categories. Miss one for too long, and you'll develop imbalances or weak points that limit progress elsewhere.
Push (horizontal): push-ups, chest presses with bands or dumbbells. Targets the chest, shoulders, and triceps.
Push (vertical): overhead presses, pike push-ups, handstand progressions. Emphasizes the shoulders.
Pull (horizontal): rows with bands, suspension trainer rows, or inverted rows under a table. Works the mid-back and rear shoulders, which counterbalance all the pushing.
Pull (vertical): pull-ups, chin-ups, assisted pull-up variations, or lat pulldowns with bands. Builds the lats and biceps.
Squat: bodyweight squats, goblet squats, Bulgarian split squats. Quad-dominant leg movement.
Hinge: Romanian deadlifts with bands or dumbbells, single-leg deadlifts, glute bridges. Hip and hamstring-dominant, critical for posterior chain strength and injury prevention.
Core: planks, dead bugs, bird dogs, hollow holds. Stability and anti-rotation, not just crunches.
Most beginners make the mistake of overloading push-ups and squats while ignoring pulling and hinging. Pulling is harder to set up at home, so it gets skipped. That creates rounded shoulders, weak upper backs, and eventually shoulder pain. If you can only add one piece of equipment, make it something that lets you pull: a band, a bar, or a suspension trainer.
A Simple Three-Day Full-Body Template
This is a starting framework, not a prescription. You'll adjust the exercises, sets, and reps based on your current ability, available equipment, and how your body responds.
Frequency: Three non-consecutive days per week (for example, Monday, Wednesday, Friday). This gives each muscle group 48 hours to recover between sessions.
Structure: Each session includes one exercise from each movement category, plus a short warm-up and optional finisher.
The interactive version of this plan, with set tracking, a printable PDF and a calendar download, is at the top of this page. Here it is as a simple table:
See the plan as a simple table
Workout A
| Movement | Exercise | Sets × Reps |
|---|---|---|
| Warm-up | Arm circles, leg swings, cat-cow stretches | 5 min |
| Push (horizontal) | Push-ups (kneeling or standard) | 3 × 8–12 |
| Pull (horizontal) | Resistance band rows or inverted rows | 3 × 10–15 |
| Squat | Bodyweight squats or goblet squats | 3 × 12–15 |
| Hinge | Glute bridges or single-leg glute bridges | 3 × 12 each side |
| Core | Plank hold | 3 × 20–40 sec |
Workout B
| Movement | Exercise | Sets × Reps |
|---|---|---|
| Warm-up | Jumping jacks, hip circles, push-up to downward dog | 5 min |
| Push (vertical) | Pike push-ups or band overhead press | 3 × 8–12 |
| Pull (vertical) | Band-assisted pull-ups or band pull-downs | 3 × 6–10 |
| Squat | Bulgarian split squats (rear foot elevated) | 3 × 10 each leg |
| Hinge | Single-leg Romanian deadlifts (bodyweight or light load) | 3 × 10 each leg |
| Core | Dead bugs | 3 × 10 each side |
Alternating the workouts: In week one, do A, B, A. In week two, do B, A, B. This keeps the stimulus varied and prevents overuse of the same movement patterns.
Rest between sets: 60 to 90 seconds for strength work, 30 to 60 seconds if you're emphasizing conditioning.
How to Progress Without Adding Weight
Bodyweight training plateaus when you stop challenging your muscles in new ways. These four methods let you keep progressing even if you never buy another piece of equipment.
Increase reps or sets: If you can do three sets of 12 push-ups with good form, aim for three sets of 15, then four sets of 12. When you hit four sets of 15, move to a harder variation.
Slow down the tempo: A three-second lowering phase (eccentric) on every push-up, squat, or row dramatically increases difficulty. Try 3-1-1 tempo: three seconds down, one second pause, one second up.
Use harder variations: Elevate your feet for push-ups. Move from two-leg squats to Bulgarian split squats. Progress from assisted pull-ups to full pull-ups to weighted pull-ups.
Add instability or range of motion: Decline push-ups, single-leg deadlifts, and deeper squat variations all increase the challenge without adding load.
Once you can comfortably do 15 to 20 reps of an exercise with good form, you've outgrown it. At that point, pick one of the methods above or add external resistance.
Mistakes That Stall Progress or Cause Pain
Skipping pulling movements: If your program has push-ups but no rows or pull-ups, you're asking for shoulder problems. Aim for a 1:1 or even 2:1 pull-to-push ratio in your weekly volume.
Training to failure every set: Beginners don't need to grind out the last rep on every set. Stop one to two reps short of failure on most sets. This preserves form, reduces injury risk, and lets you recover for the next session.
Not warming up: Five minutes of dynamic movement—arm circles, leg swings, light squats—prepares your joints and nervous system. Skipping it increases injury risk, especially for explosive movements like jump squats or plyometrics.
Adding too much too fast: A common mistake is jumping from zero to six days per week or adding 20 reps per session every week. Start with moderate intensity and increase gradually over several weeks. A good rule: increase total weekly volume by no more than 10% per week.
Ignoring pain: Muscle soreness 24 to 48 hours after training is normal. Sharp pain during an exercise, or pain that doesn't improve with rest, is not. If something hurts, swap in a different exercise for that movement pattern and reassess in a few days. If it persists, consult a healthcare provider.
When to Add a Fourth Day or Split the Program
Three full-body days per week will carry you for months, but at some point you may want more volume or prefer to focus on one area per session. Add a fourth day only after you've been consistent with three days for at least eight weeks.
Option one: add a conditioning day. Circuit training, interval work, or a 20-minute high-rep session on Saturday. This improves work capacity without adding much fatigue.
Option two: move to an upper/lower split. Four days per week: two upper-body days (push and pull focus) and two lower-body days (squat and hinge focus). This allows more exercises per muscle group and more recovery between sessions targeting the same area.
Stick with full-body as long as it's working. Splitting the program too early reduces frequency per muscle group, which can actually slow progress for beginners.
How to Track Progress Without Overthinking It
Write down what you did. Exercise, sets, reps, and how it felt. A notebook, a spreadsheet, or a notes app all work.
Every two to three weeks, review your log. Are the rep numbers going up? Are you moving to harder variations? That's progress. If the numbers are the same or dropping, adjust one variable: eat more, sleep more, or reduce volume slightly.
You don't need to track heart rate, macros, or time under tension unless you enjoy that level of detail. For most people, tracking exercises and reps is enough.
What the Research Says About Training at Home
A 2017 study in the Journal of Exercise Science &; Fitness found that push-ups produced similar muscle growth and strength gains to bench pressing at a comparable load over 8 weeks. The key is progressive overload—making the exercises harder over time—not the equipment you use.
The WHO guidelines recommend muscle-strengthening activities that engage all major muscle groups on two or more days per week, which a three-day home program exceeds. For aerobic activity, the guidelines suggest 150 to 300 minutes of moderate intensity or 75 to 150 minutes of vigorous intensity per week. You can meet part of that with circuit-style resistance training or add dedicated cardio on off days.
Adjusting the Plan for Your Schedule and Goals
If you only have 20 minutes, cut the warm-up to two minutes and do two sets per exercise instead of three. Two sets still drive adaptation if you're consistent.
If you're training for a specific sport or event, replace one general session per week with sport-specific work. For example, if you're a runner, keep two full-body days and use the third for running-focused intervals or hill sprints.
If your goal is fat loss, diet matters more than the workout program. A home strength plan preserves muscle while you're in a calorie deficit, which is critical. Adding 10 to 15 minutes of moderate-intensity cardio after your strength session can increase total calorie burn, but it's optional and secondary to nutrition.
Troubleshooting Common Home Training Problems
"I can't do a single pull-up." Use a resistance band looped over the bar to assist, or start with inverted rows (lie under a sturdy table, grab the edge, and pull your chest to the table). Work up to three sets of 10 assisted pull-ups or rows before attempting unassisted pull-ups.
"Push-ups hurt my wrists." Use push-up handles, dumbbells as grips, or do push-ups on your fists. If pain persists, substitute band chest presses or floor presses with light dumbbells until wrist mobility improves.
"I run out of breath before my muscles get tired." This is a conditioning issue, not a strength issue. Rest longer between sets (90 to 120 seconds), or break up high-rep sets into smaller clusters with 10-second rests. Your conditioning will improve over weeks.
"I don't feel sore the next day." Soreness is not a reliable indicator of a good workout. Focus on whether your performance is improving (more reps, harder variations, better form). Some people rarely get sore, and that's fine.
"I've been doing the same exercises for three months and stopped seeing progress." Change one variable: increase reps, slow down the tempo, move to a harder variation, or add a fourth training day. If you're still stuck, you may need to eat more or check your sleep quality.
Home Training Safety Note
If you have a pre-existing injury, cardiovascular condition, joint pain, or are returning to exercise after a long break, check with a healthcare provider before starting a new program. The exercises in this guide are appropriate for most healthy adults, but they are not individualized medical or rehabilitation advice. Stop any movement that causes sharp pain, and modify the program to fit your current ability level rather than pushing through discomfort.
How This Guide Was Put Together
This plan is based on the WHO 2020 physical activity guidelines and on peer-reviewed research on bodyweight and resistance training adaptations, including the push-up study cited above. The exercise selection and progression frameworks reflect standard practices in strength and conditioning for general fitness populations.


